Rocks are one of the basic components of traditional steam saunas. The rocks help maintain temperature with the sauna even if the heater is not actively running.
Sauna rocks are also used to provide the soothing humidity, which further promotes relaxation.
While you can purchase pre-made sauna rocks, creating your own DIY sauna rocks is a gratifying option that can also save you some cash.
In this post, we’ll walk you through the process of making your own sauna rocks.
Continue reading this article to learn about DIY sauna rocks, how often you should change them, and tips to pick the right sauna stones.
Why Are There Rocks in a Sauna?
The short answer is to absorb and store heat from the heater to help provide a more comfortable experience in the sauna. Similar to how ice will keep your drink cool, rocks will help to keep the sauna warm.
Whether gas, electric, or wood-burning heaters are used, the rocks will capture the thermal energy emitted from the heater. This allows for better temperature stability even when the heater is off.
Many saunas may take upwards of half an hour to heat up. During the heat-up period, the source of energy is being consumed to run the heater, which ultimately will have a cost associated with it.
The rocks will capture the heat and slowly distribute it over the course of time, which will allow you to keep the sauna warm for a period of time without using the heater.
When water is poured onto the rocks, the resulting steam will increase the humidity in the sauna. The moist warm air provides a soothing atmosphere to relax in, along with ample health benefits.
Sauna rocks can also be used to facilitate aromatherapy. Essential oils or fragrant herbs can be added onto the rocks to provide aroma and therapeutic benefits to your session.
What Types of Rocks Are Used in a Sauna?
Ideally, sauna rocks should have good thermal conductivity to absorb and release heat efficiently. They should also have high heat storage; so that they don’t cool down quickly.
Plus, the rocks should be heavy-duty and withstand extreme temperature changes. Avoid porous stones as these can trap moisture that could eventually cause them to pop or explod.
Dark, heavy igneous rocks fit all the conditions mentioned above. They are generally dense, and their dark color can absorb heat better.
Examples of igneous rocks that are common choices for saunas include:
- Basalt
- Vulcanite
- Gabbro
- Peridotite
- Olivine
- Granite
The ideal size for sauna rocks may vary depending on the exact heater that they’ll be used for. However, 2 to 6 inches are common sizes for the rocks.
If the rocks are too large, they will take too long to heat up; conversely, if they’re too small they’ll cool off too quickly.
Shape of the rocks is not overly important, and is often personal preference. Both flat rocks and round rocks are suitable, although flat ones may provide a more even heat distribution.
What Should You Look For When Collecting Sauna Rocks?
Picking stones from nature is a nice alternative if you don’t want to spend money on rocks.
Still, collecting sauna rocks requires some skills, so that you can tell the stone’s quality and type. That’s to ensure you don’t damage the heater or hurt yourself.
Here are a few tips, however, if you’ve decided to harvest rocks yourself:
- Pick dark, heavy rocks with rough surfaces. However, make sure they have no pores.
- Smash the stones against each other to ensure they’re tough enough to handle the heat.
- Choose stone sizes that range from a golf ball to not larger than a softball.
- Avoid any non-uniform, crack-containing stones that are scratchable.
How to Make DIY Sauna Rocks
It’s totally possible to search outside to find rocks ready for use in the sauna. But, if you’d rather not spend time hunting down the perfect rocks (or money buying them), you can actually make sauna rocks yourself.
Here are some easy steps to make your own sauna rocks:
1 – Select the Rocks
Choose natural rocks that can withstand high temperatures without cracking or exploding. Granite, basalt, and peridotite are among the most suitable options.
Aim for rocks at least 2 inches in diameter and that are dense without holes. You’ll need enough rocks to loosely cover the surface of the heater.
2 – Inspect and Clean
Examine the rocks for any impurities, cracks, or loose particles. Clean them thoroughly with water to remove dirt and debris.
If you’re concerned that a rock may be unstable, you can perform a quick test. Take two rocks and smash them together –if they hold up without cracking then they should be OK for the sauna.
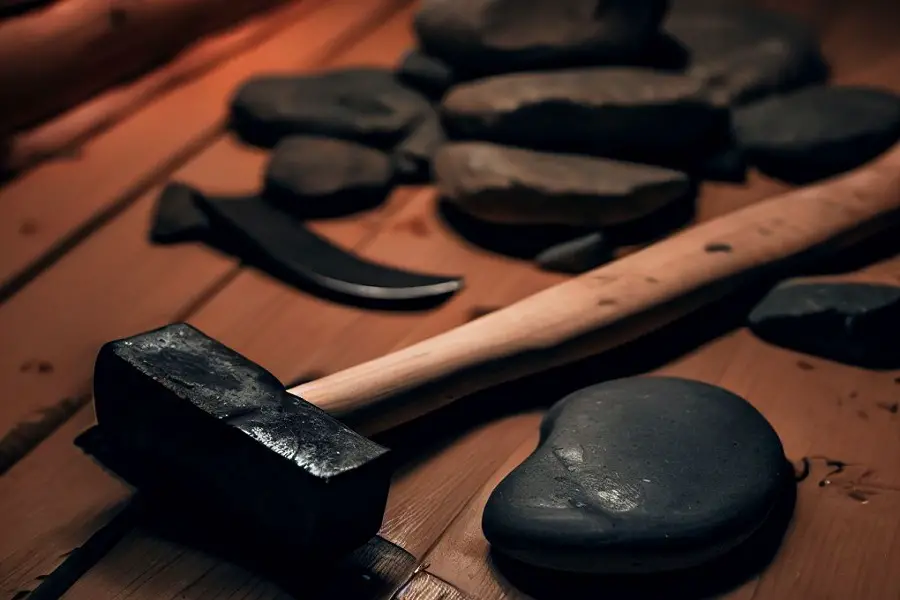
3 – Cracking the Rocks
If your rocks are larger than desired, you can reduce them down in size with a hammer and chisel. Before starting on this, ensure to wear safety glasses.
Place the pointed end of the chisel onto the rock and firmly tap the end of the chisel to break the rocks into smaller pieces. Generally rocks with a diameter of 2 to 6 inches is preferable for saunas, but this can vary based on the heater specifications.
4 – Smoothing the Edges
After breaking the rocks, it’s likely that there may be some resulting sharp or jagged edges.
You can use sandpaper to smooth the edges. Start with coarse grit and then work your way to fine grit.
A belt or orbital sander can help make quicker work of this activity.
5 – Clean Again
After sanding activities are complete, rinse the rocks one more time to remove any lingering dust.
6 – Cure the Rocks
Before using your DIY sauna rocks, it’s essential to cure them. This process involves heating the rocks to a high temperature (about 500-600°F or 260-315°C) to remove any remaining moisture and impurities.
Place the rocks in your sauna or use an oven or grill to heat them slowly.
Cool Down: After curing, let the rocks cool down gradually. Once they’ve reached room temperature, they are ready to use in your sauna.
What Type of Rocks Should You Avoid Using In a Sauna?
Any rocks with poor thermal properties, containing toxic minerals, and have a porous surface aren’t suitable for saunas.
Sedimentary and Metamorphic Rocks
Generally, sedimentary and metamorphic rocks aren’t suitable for saunas. That’s because they can have low thermal conductivity or be too soft to withstand high heat.
Stones that fall into the low heat conductivity category include gravel.
However, some sedimentary and metamorphic rocks like sandstone and quartzite are excellent heat conductors. Still, they’re not as durable as igneous rocks, making them unideal for saunas.
Porous Rocks
You should never use porous rocks in saunas! Even igneous stones with cavities, such as pumice, aren’t sauna-suitable.
Such porous stones have a high moisture content as a result of water entering through the pores.
Now, what happens when you heat rocks that hold moisture? The trapped water boils, increasing the vapor pressure and potentially causing them to explode.
Conversely, silky smooth igneous rocks cause water to run off before it has the chance to evaporate. So, you won’t get as much steam out of smooth-surfaced stones.
Rocks Containing Toxic Materials
Try to steer clear of sulfur-containing rocks. When heated, the stones will release the minerals and degrade over time.
Aside from its low durability, sulfur compounds like sulfur dioxide can turn into acids inside your body and irritate it. Not to mention, these compounds smell bad, and a stinky sulfur sauna isn’t exactly everyone’s idea of a relaxing time.
Other dangerous rock types that you want to avoid are asbestos-containing rocks, as this compound can cause risky health conditions such as lung cancer.
Rocks with high metal content such as pyrite should also be avoided. These can create noxious fumes when heated up.
Can You Put Essential Oils on Sauna Rocks?
Yes, you can put essential oils on sauna rocks as long as you’re not allergic to any of their components. Plus, make sure they’re of high quality by checking the label components—only opt for pure essential oils with zero fillers.
Adding essential oils to rocks can bring your sauna experience to a new level, thanks to their pleasant fragrance. However, a nice aroma isn’t the only benefit essential oils offer.
They can deliver some health benefits, too! They might help relieve stress, alleviate headaches, reduce muscle soreness, and improve sleep quality thanks to their aromatherapeutic effect.
What’s more, garlic essential oils can even fight Lyme disease bacteria better than antibiotics!
Just make sure to dilute the extracts in water before adding them to the rocks. Avoid pouring them directly on the heater, as the oils will burn.
Here are some beneficial essential oils that’ll add freshness to your sauna experience:
- Eucalyptus
- Lavender
- Tea tree
- Peppermint
- Citrus
- Birch
How Often Should You Change Sauna Rocks?
Changing sauna rocks depends mainly on how often you visit your sauna.
If the steamy room is a weekly practice, you might need to replace the rocks every couple years. Less frequent users may not ever need to actually replace them.
That said, examining the stones is the best method to determine whether they need changing or not.
Here are a few signs telling you to change the sauna stones:
- Color change: stones will usually have white build-up as a result of minerals precipitating on the surface
- The stones have cracks, crumble, and feel fragile
- The stones feel hollow and break when you hit them with another rock
How to Clean Sauna Stones
Even if not replacing the sauna stones, they should be cleaned and restacked on the heater periodically –once or twice a year is generally sufficient.
Clean the rocks by soaking them in warm soapy water for at least five minutes. Afterwards, you can scrub them to dislodge and debris.
Rinse the rocks off the clean water, and then dry them with a cloth before restacking them onto the heater.
Final Takeaway
Making DIY sauna rocks instead of buying them can be tricky, as it requires a bit of geology. Still, it’s a simple task that can be a lot of fun while saving some money.
In general, opt for dark, heavy, and rough-surfaced igneous rocks that contain no scratches or gaps. Aside from collecting the right rocks, clean them periodically to keep them in prime condition.
If the sauna is used frequently and the rocks are showing signs of deterioration, it may be time to replace them.
Using the right stones will help keep your sauna temperature at optimal levels without having to constantly run the heater. They’ll also provide the soothing humidity by creating steam after water is ladled across them.
Happy Lounging!
Husband and father of three (actually, four if you include the pool). I’m an avid DIY-er and weekend warrior that enjoys taking up new projects around the house to help us maximize leisure right at home. I enjoy researching and sharing various tips, tricks and knowledge to help others make their home an oasis.